How To Integrate Myuser Into HubSpot
Connect HubSpot to Myuser in 3 minutes with a private app key - contacts, companies, deals, logged emails and meetings sync automatically.
In this guide, we'll walk you step-by-step through integrating HubSpot using a private app key. This integration enables Myuser to automatically read and write lead information, log your outreach emails and booked meetings on each contact's timeline, and create deals - ensuring smoother and more efficient management of your outreach activities.
The whole setup takes about 3 minutes. You create the key inside your own HubSpot account, you choose exactly what it can access, and you can rotate or delete it at any time.
Step 1: Access the HubSpot Settings
To get started, simply log in to your HubSpot account. On the top right corner, you'll find the Settings gear icon - click it to proceed.

Step 2: Navigate to Integrations and Private Apps
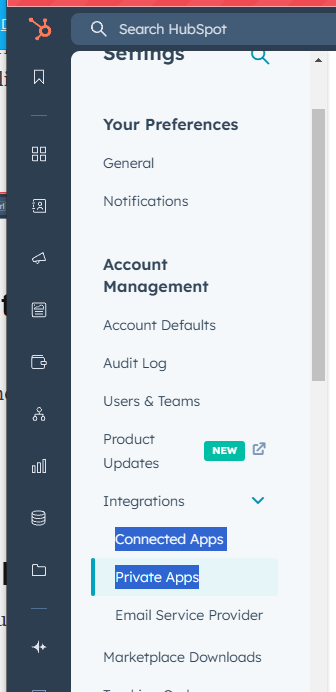
Once you're in the settings, look at the left-hand menu and select Integrations, followed by Private Apps.
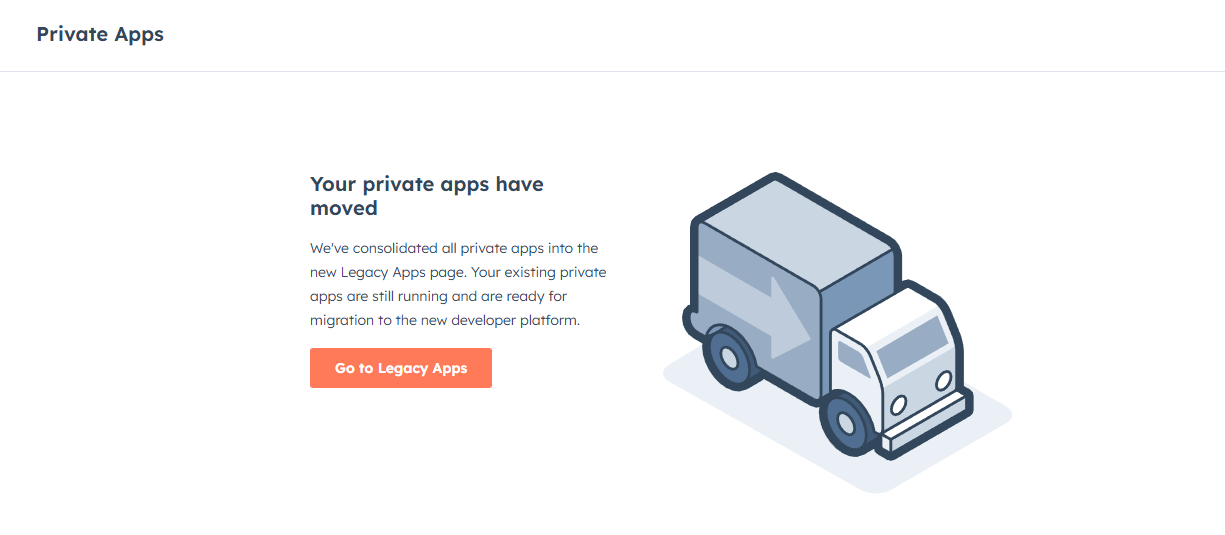
Click on Go to Legacy Apps.
Step 3: Create a New Legacy App
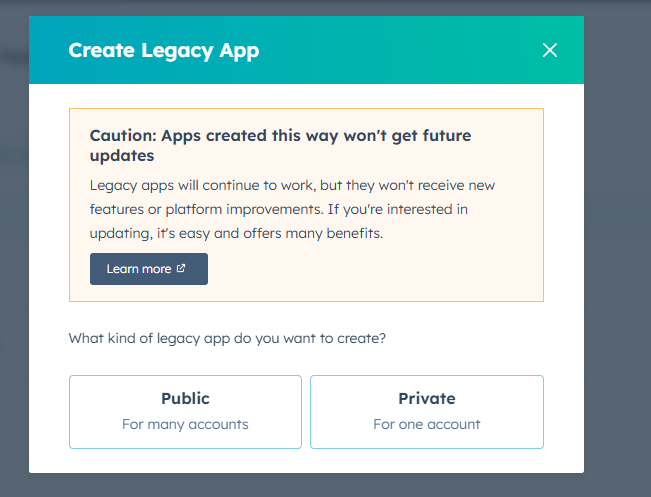
Click on the Create Legacy App button.

Click on Private.
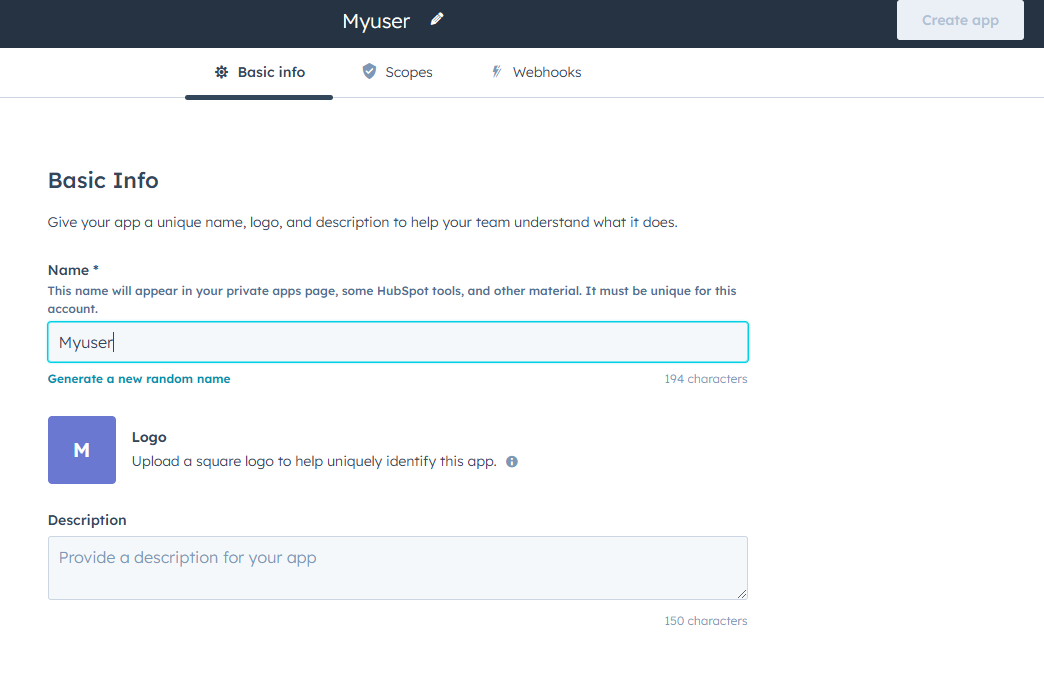
A new window opens, asking you to name the app. In the app name field, enter the name Myuser, or choose a name that clearly identifies your integration.
Step 4: Adding Required Scopes
Next, navigate to the Scopes tab at the top of the private app page.
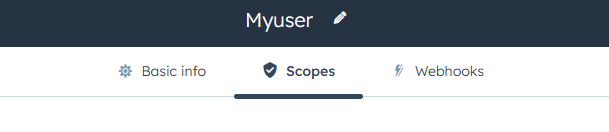
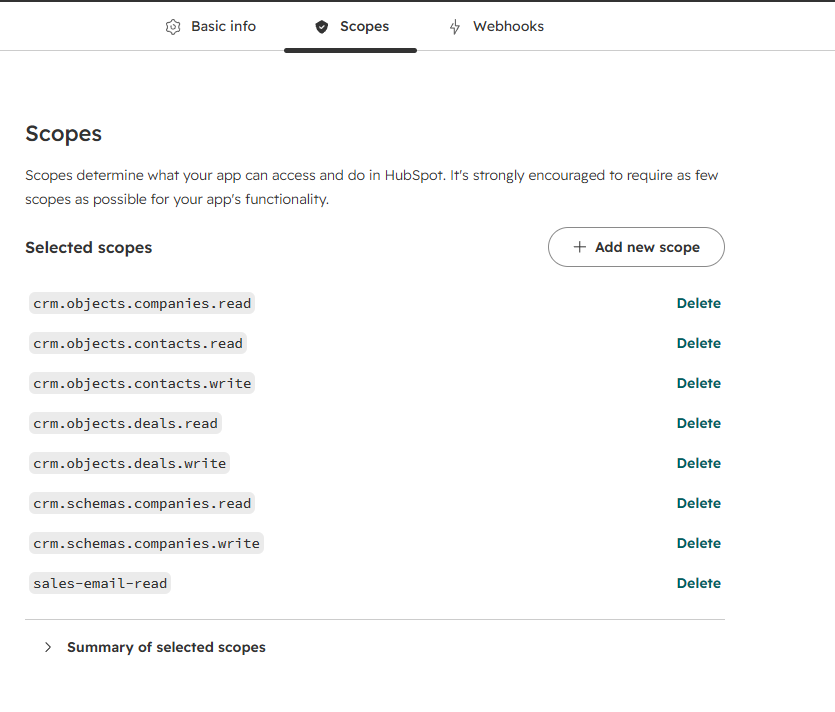
Here, you'll need to add all the permissions required to connect our systems successfully. Make sure to individually add the following scopes, one by one, through the Add Scope option:
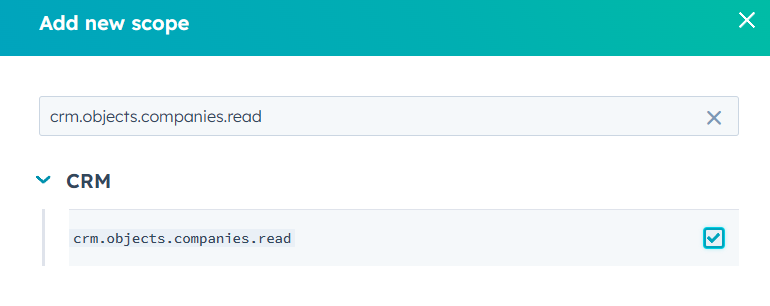
crm.objects.companies.readcrm.objects.contacts.readcrm.objects.contacts.writecrm.schemas.companies.readcrm.schemas.companies.writesales-email-readcrm.objects.deals.readcrm.objects.deals.write
Optional: if your scope picker also shows crm.objects.meetings.read (and crm.objects.meetings.write), tick them too. On legacy private apps these scopes don't appear at all - that's fine: meeting detection works through the scopes above on legacy apps, so nothing is lost.
Including all the listed scopes is important. Without these permissions properly set up, the integration will fail to function as intended.
Read permissions let us check whether a contact or company already exists so we never create duplicates; write permissions let us create and update them, log your outreach emails and booked meetings on each contact's timeline, and create deals.
Click Create app and confirm.
Step 5: Copy the Private API Key
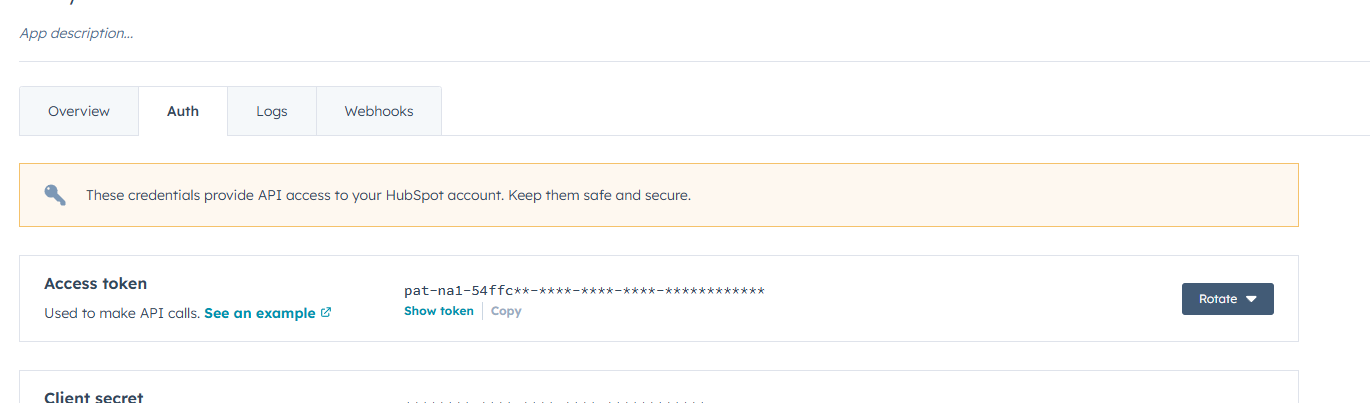
After you've added and confirmed the above scopes, HubSpot will generate your private API key. First click the Auth section, then click Copy next to the Access Token - you will need it for the integration step.
Step 6: Enter the Private Key in the Myuser Dashboard
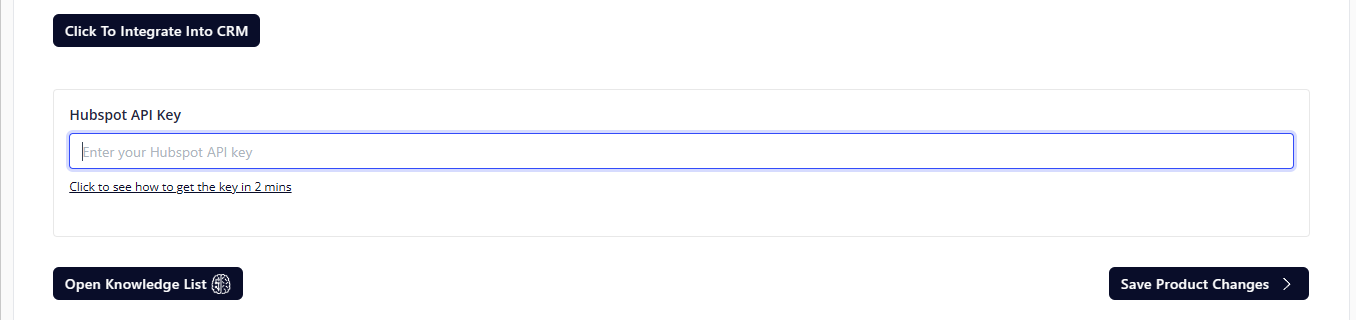
Finally, navigate to the Myuser dashboard. Under the product you wish to integrate with HubSpot, paste the private key you've just copied into the provided field, then click Save Product Changes.
Congratulations - you're all set! Your HubSpot integration is now ready, allowing seamless transfer of lead information and faster management of your outreach efforts.
Staying in control
- You can see and manage the app any time under Settings, Integrations, Private Apps.
- Rotating the token in HubSpot instantly invalidates the old one - just paste the new token into Myuser afterwards.
- Deleting the app instantly cuts off all access.
Need Help?
If you have any questions or encounter issues during this integration process, please reach out to our support team - we're always here to assist!
Happy Integrating!